Description
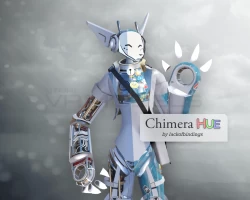
Presenting the Enhanced Edition of the Chimera: HUE
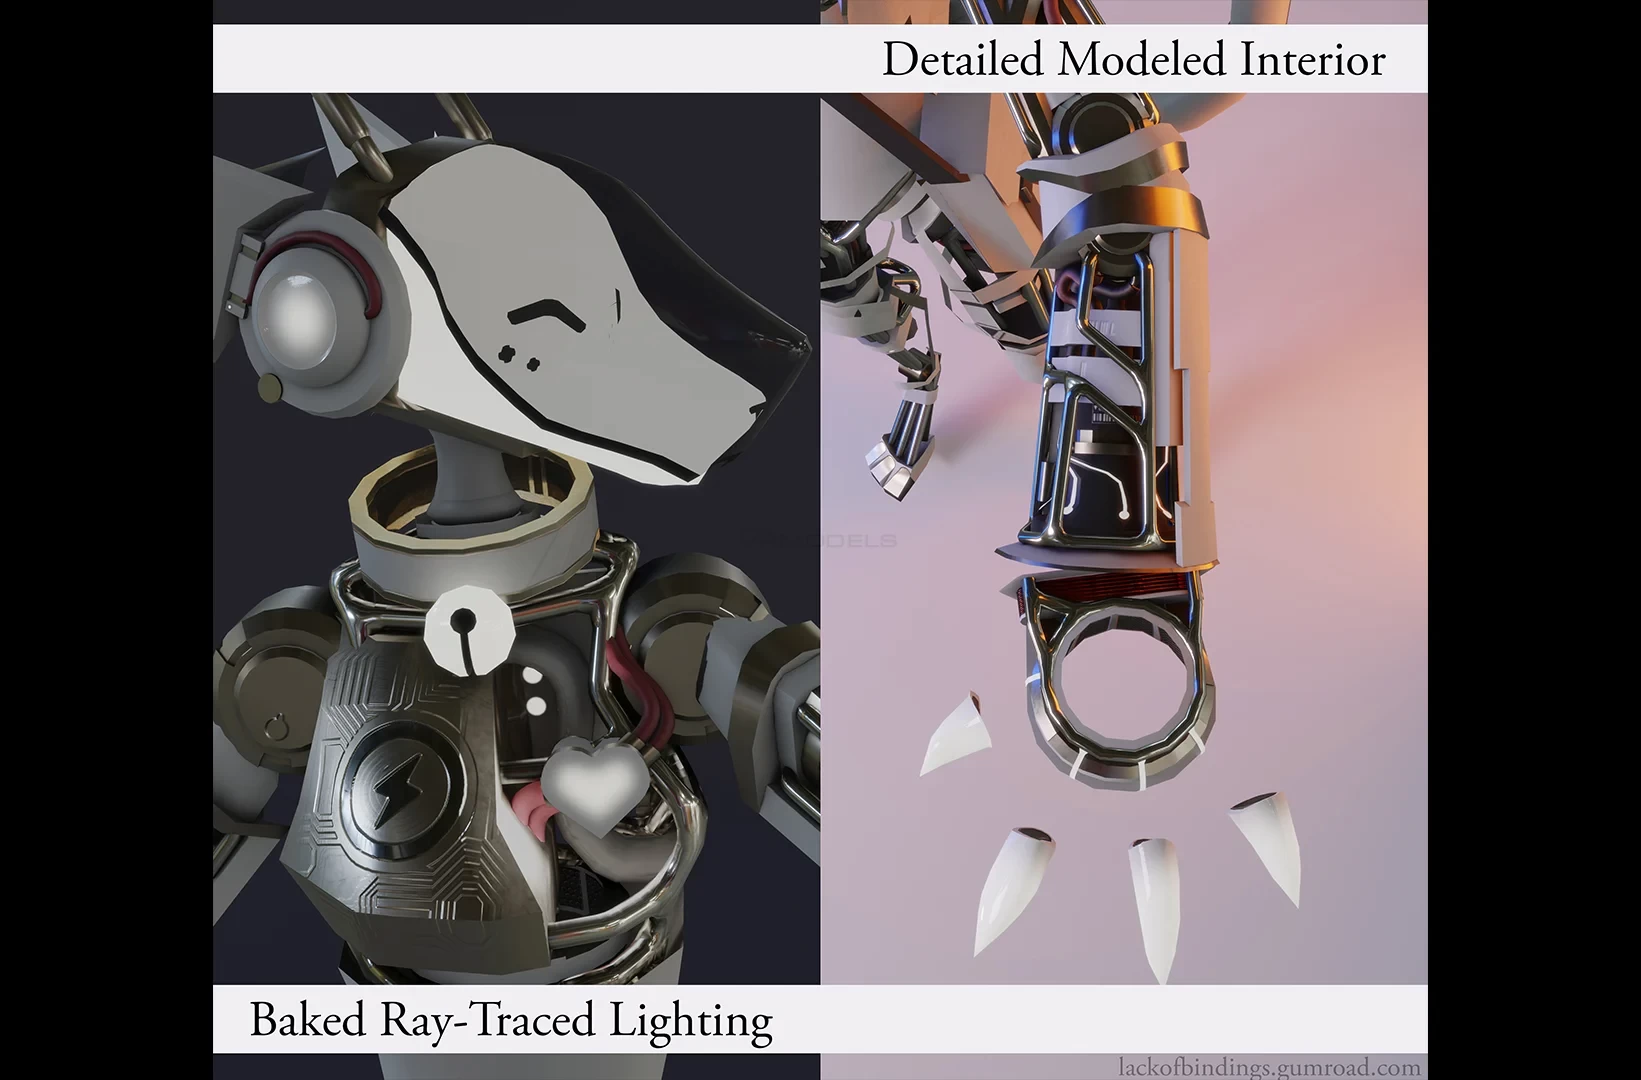
Featuring modeled mechanical interiors with animated moving parts, toggleable transparent covers, Audiolink, and more!
Features
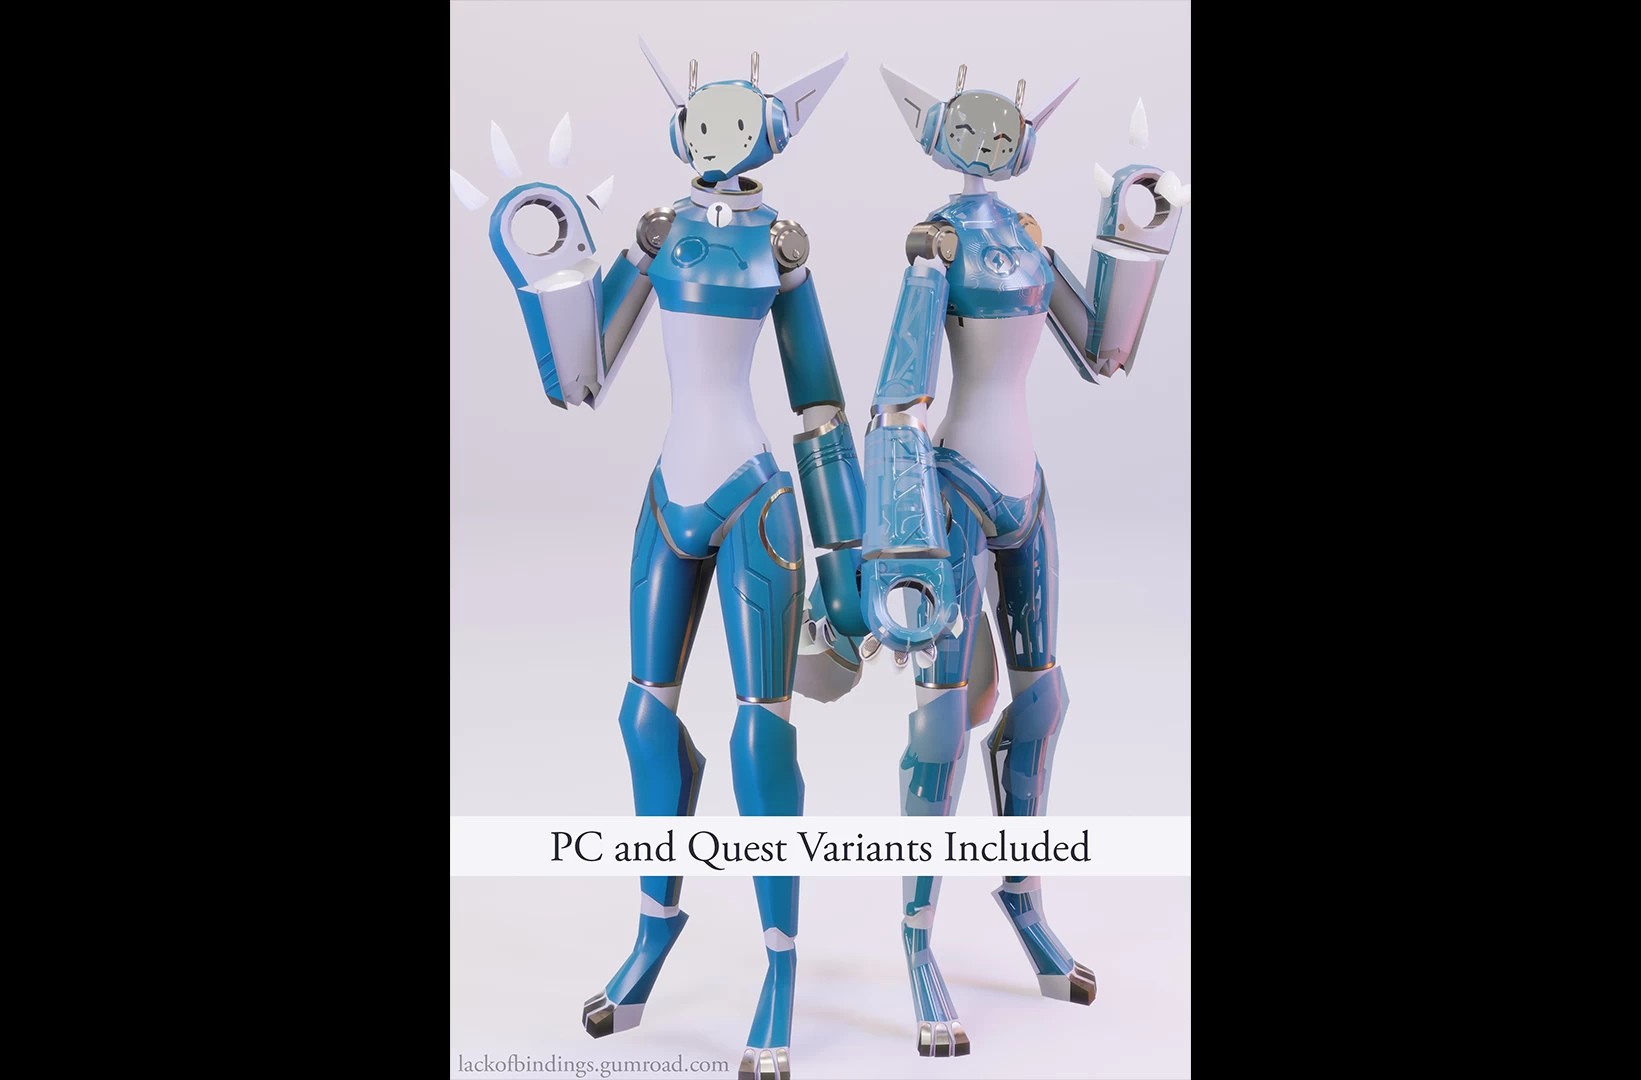
48k Polys (12k for Quest version)
Medium performance rating on PC and Quest
4K textures
Custom sitting and lying animations
Hoverboard mode with a full set of custom movement animations!
Individually toggleable clothing: Jacket, Collar, Leg Harness, and Satchel
Gesture-controlled facial expressions
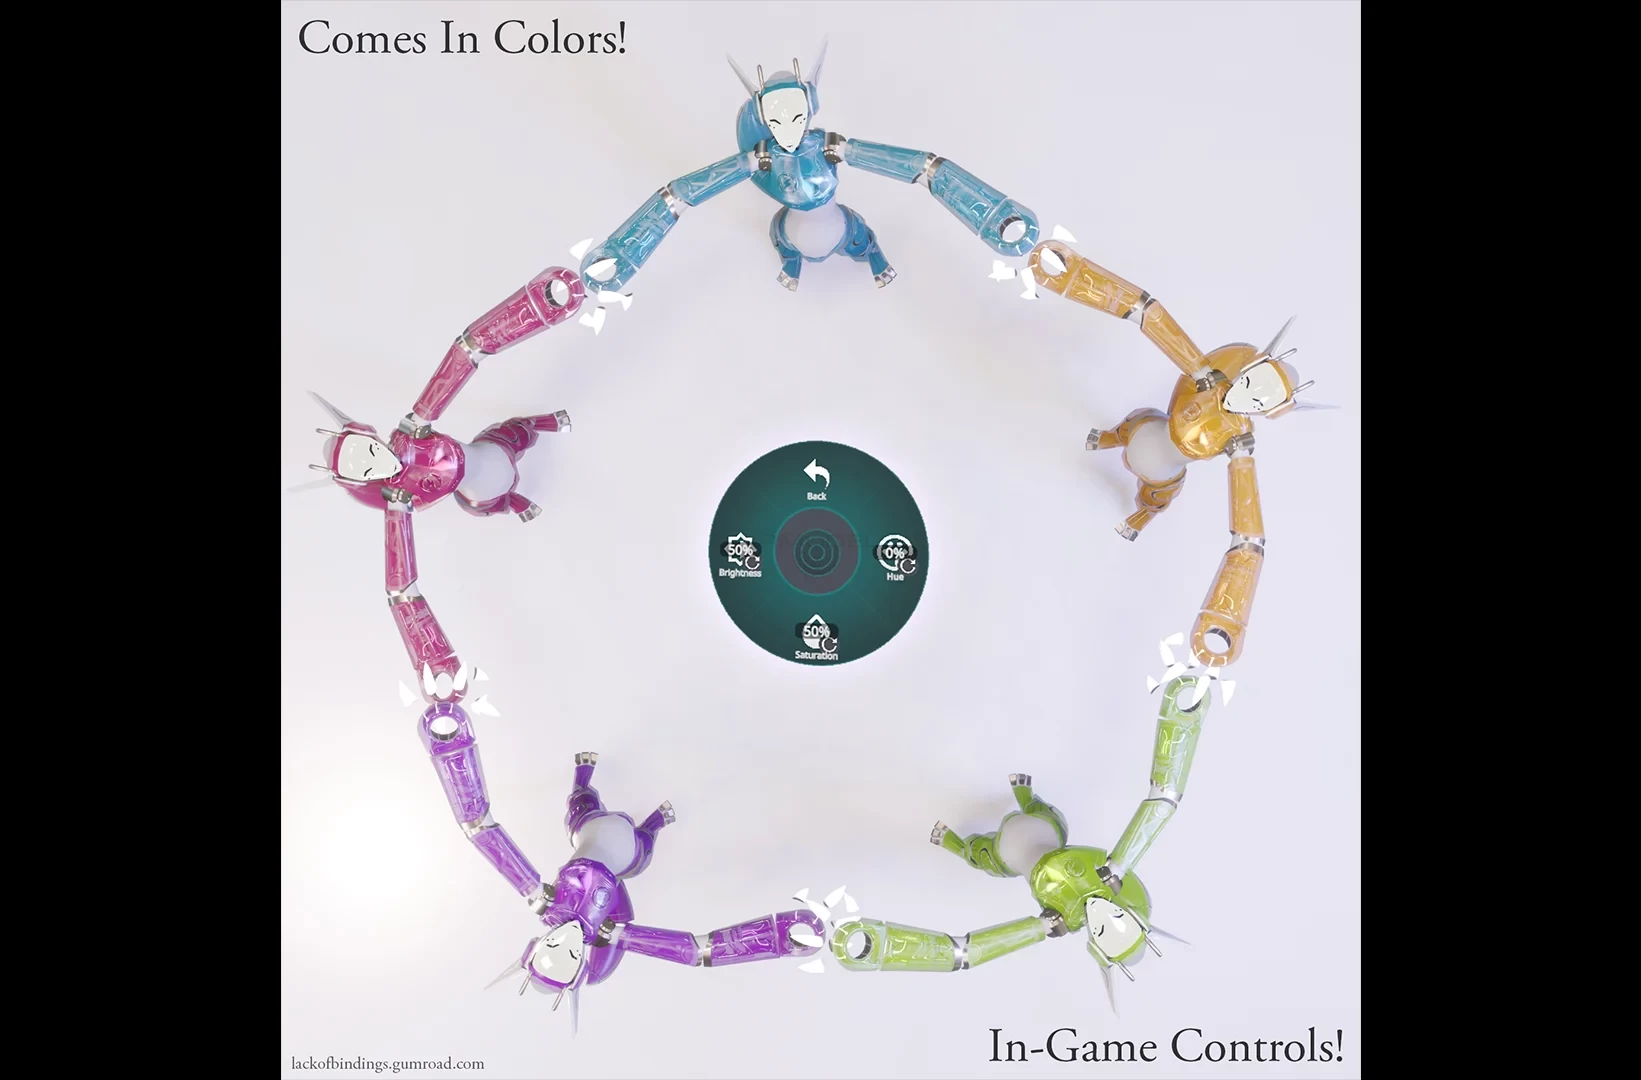
In-game color adjustment controls
Toggleable Audiolink mode
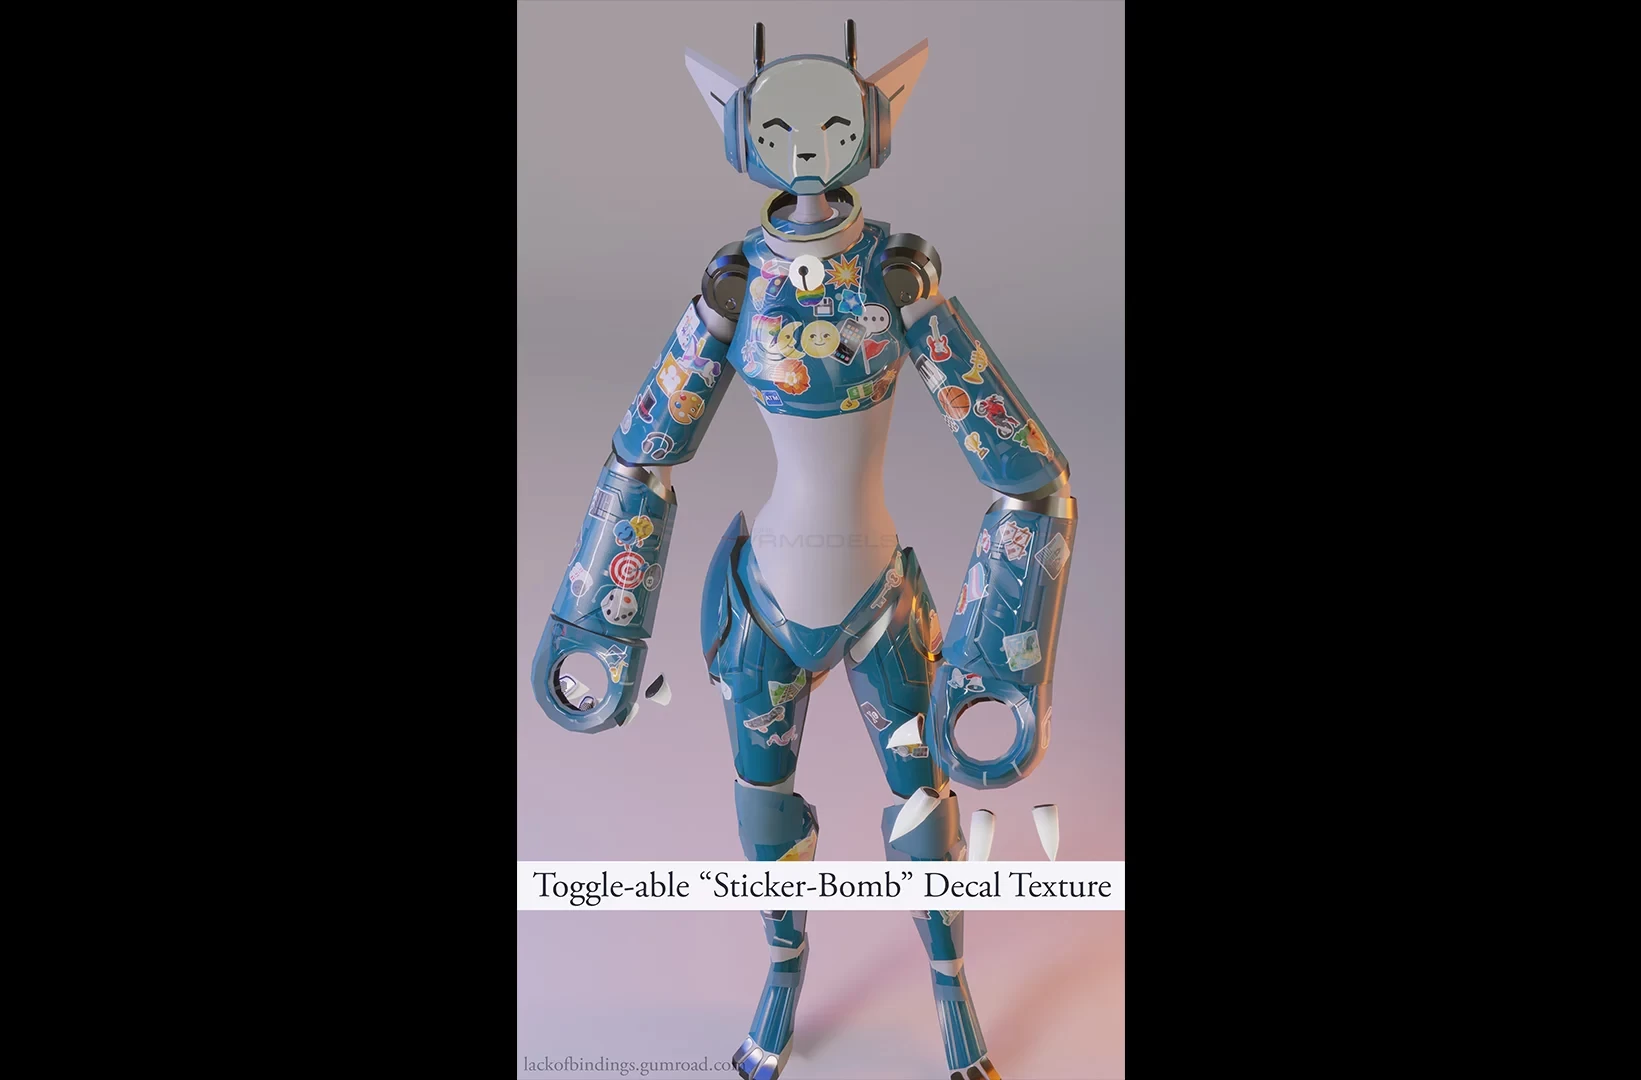
Toggleable decals layer
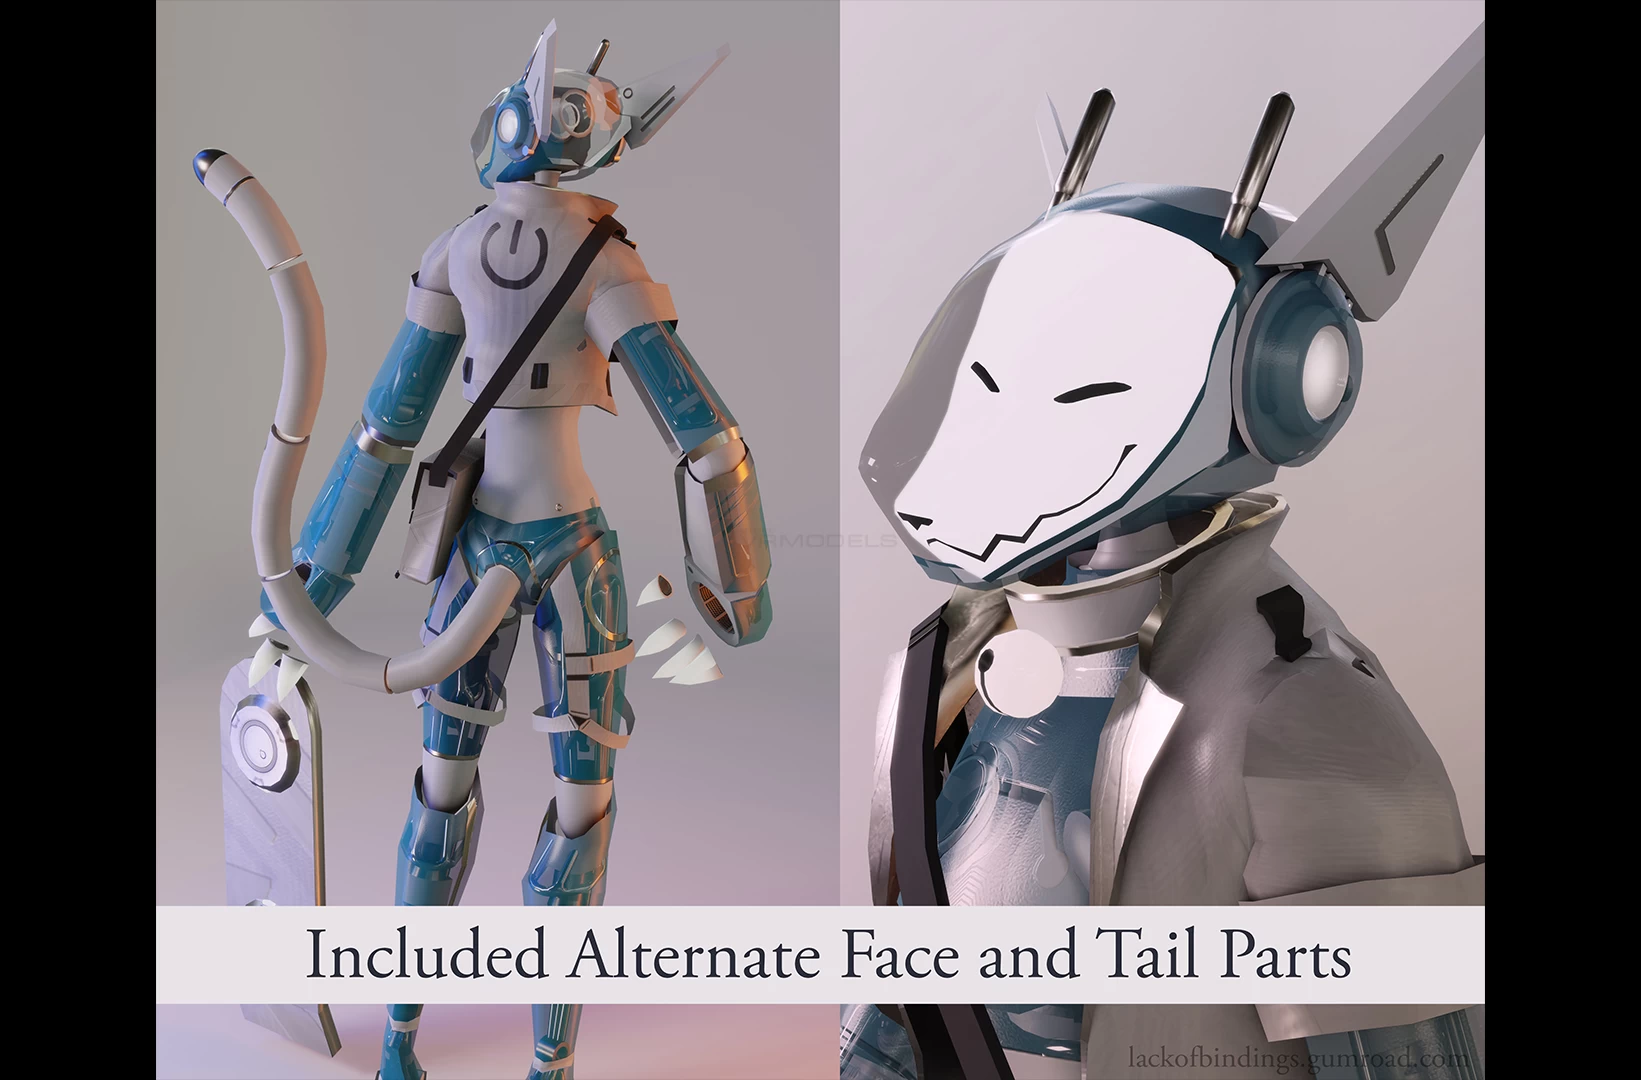
Included variants with alternate parts: spooky face and cat tail
-- Dependencies --
- Unity Hub (https://unity3d.com/get-unity/download).
- VRChat SDK 3 for Avatars (VRCSDK3-AVATAR-2021.09.30.16.19 or newer)(https://vrchat.com/home/download).
- Either:
a. Dynamic Bone plugin (https://assetstore.unity.com/packages/tools/animation/dynamic-bone-16743).
b. OR the free alternative: Markcreator's Dynamic Bone Container plugin (included in the dependencies folder).
- Silent's Cell Shading Shader (v1.10 or newer) (included in the dependencies folder).
- Poiyomi Toon Shader (v7.2.41 other versions may not be fully compatible) (included in the dependencies folder).
-- Instructions --
1. Open Unity Hub and create a new project in Unity 2019 (2019.4.31f1 or newer).
(!) If installing a new Unity version for the first time, ensure "Android Build Support" is checked during install.
2. Download and import the VRChat SDK 3 for Avatars.
3. Import Dynamic Bone OR Dynamic Bone Container:
a. If you own the Dynamic Bone plugin, import it now.
b. If you do not, you can use the free Dynamic Bone Container plugin instead:
(?) This will allow you to upload the avatar with dynamic bones without having to purchase the full plugin.
4. Import Silent's Cell Shading Shader.
5. Import Poiyomi Toon Shader.
6. Import chimera-Hue.unitypackage
7. Navigate to Scenes > Avatar Scene and open it.
8. Everything should now be ready for your first upload!
-- Quest Version --
1. Create a new project in Unity 2019 (2019.4.31f1 or newer).
(!) If installing a new Unity version for the first time, ensure "Android Build Support" is checked during install.
2. Download and import the VRChat SDK 3 for Avatars.
3. Import chimera-Hue-QUEST.unitypackage
4. Navigate to Scenes > Avatar Scene and open it.
5. Open the VRC SDK Control Panel and press [Switch Build Target to Android].
6. Don't forget to attach your avatar ID in the Pipeline Manager if you have already uploaded the PC version!
7. If you have modified the base color in the desktop version's textures:
a. Navigate to "Unity/Assets/Chimera/FX/QUEST/" and choose one of the provided animations for the color that most closely matches your desktop version's default color.
b. Open the QUEST_FXLayer to the "Hue Shift" layer and place the desired animation into the motion slot.
(?) If done correctly using the hue shift slider on desktop should reflect close the correct color on quest (and vice versa).
8. Everything should now be ready for your Quest upload!