
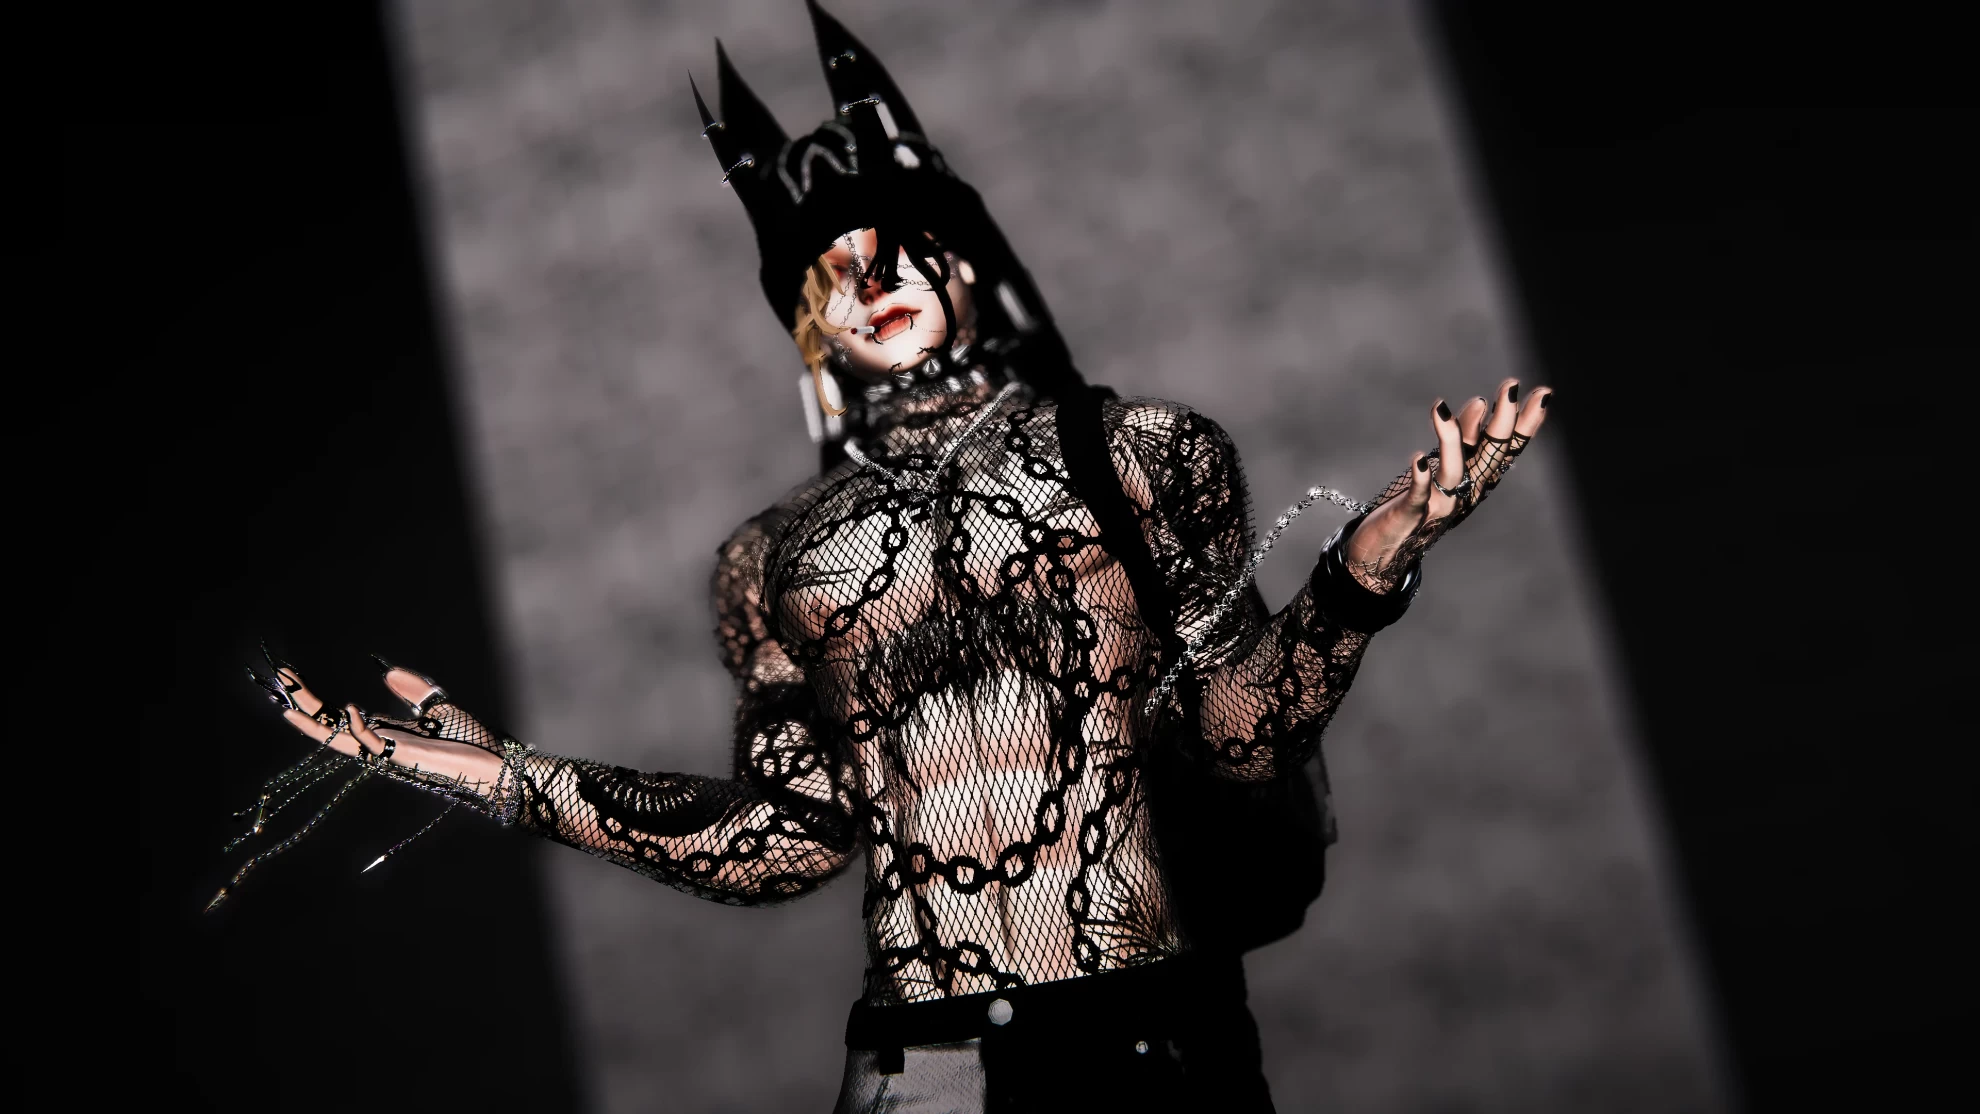
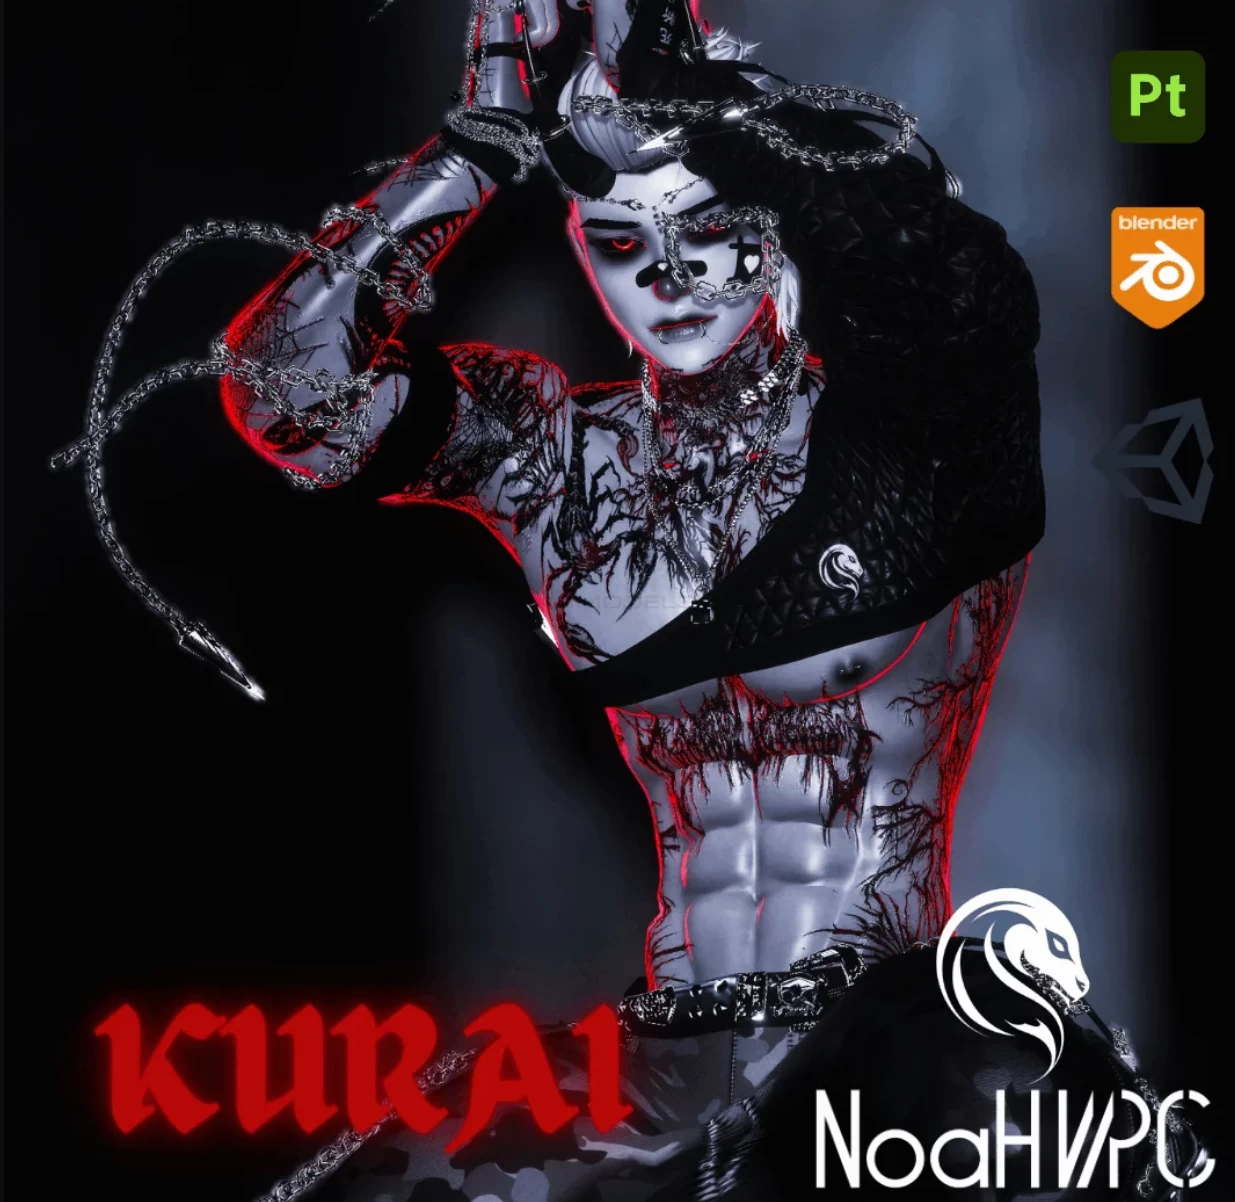
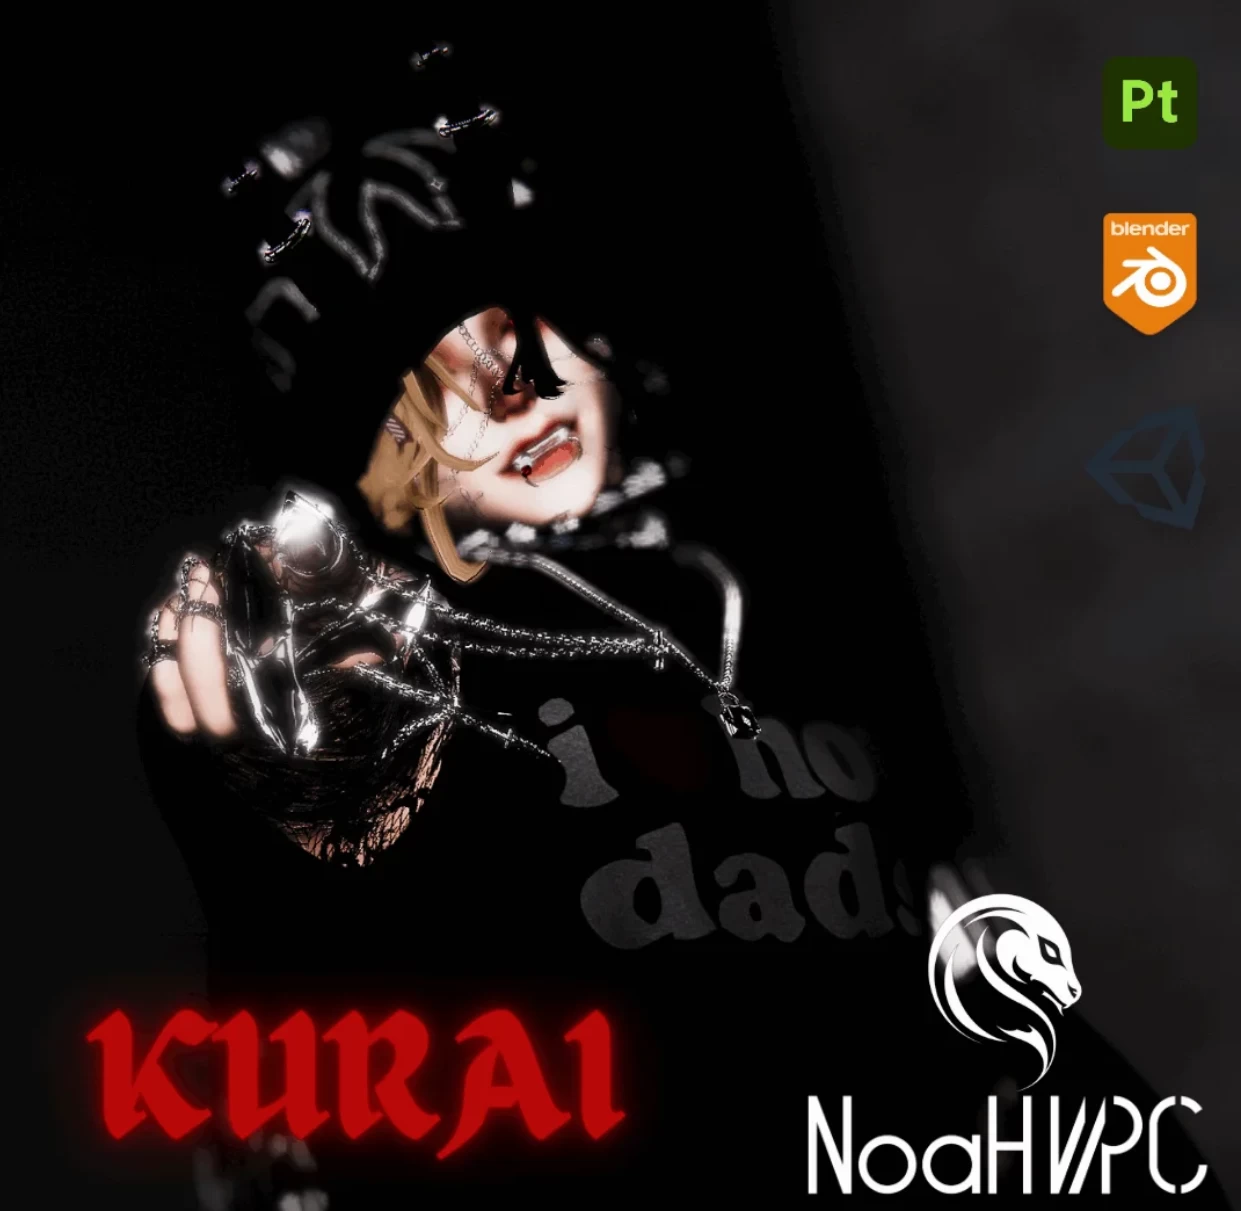
༶•⛧Kurai
To download the model, you need to log in.
Description
FEATURES:
-2019.4.29f1 Version
Alot of Dissolve Toggles
Emission HUE-Shift
Custom Tattoo-Texture
Skintone Slider
Undead-Skin Toggle
3 Pants Options (With Multiple Color Variants)
3 Shoe Options (70s-Hightops, Chunky-Sneakers, Boots) + Colorvariants
3 Different Hairstyles (Mullet, Wolfcut, Splithair, Braided Ponytail) + Customization Options
5 Hair Colors
Physbone + colliders setup
Custom DPS Setup by Scarlett
Body-Smoke effect, Rosepetal Floor-Particles
GogoLoco
Does NOT include:
Dynamic Penetration package
Poi Pro Shader
You will have to own all of these assets for the DPS-Version to work as intended
TOGGLES:
Outfit Menu
Head Menu
Hair Radial (4 Options) , Hat Radial (Beanie, Baseball Cap "Multiple Positions"), Facemask, Eyepatch, Blindfold
Ponytail, Face-chain, Wire Blindfold, Glasses, Doberman Ears, Horns, Cigarette, Bandaid, Crown, Jawpiece
Clothing Menu
Pants Radial (3 Options), Shoe Radial (3 Options), Baggy Shirt, Skinshirt, Fishnet Bodysuit, Atlanta shirt, Sweater (with holes), Thong, Sleeve, Gloves, Leg Fishnet, Socks, Bagpack, Arm Bandana
Accessorie Menu
Armchain, Spike Harness, Barbed Wire, Handchain, Fingerchain, Cuff, Stomach Chain, Claws, Rings, Chain, Cubanchain, Choker, Legchain, Lockchain
Undead Menu
Undead/Demonskin, Halo, Flowerpetals, Fingernail Claws, Full-body smoke Aura, Aura-Distortion
Color Menu
Top Color Menu
Beanie Color, Lace Texture, Shirt Texture, Skinshirt Texture, Blindfold Texture, Black and White colorswap
Bottom Color Menu
Baggypants Color, Jeans Color, Skullpants Color, 70s Hightop Color, Chunky Sneaker Color
Haircolor
Skintone
GogoLoco
DPS Menu
PERFORMANCE:
Disclaimer: This Avatar is designed to be uploaded with "Creator-Companion"
Step 1: Create a new Avatar-Project with "Creator-Companion" (Unity Version: 2019.4.31f1)
Step 2: Add Poiyomi 8.1 or higher (Or 8.2+ Pro for the DPS-Setup)
Step 3 (Optional) : Add "Ravil's Dynamic Penetration System"
Step 4: Add the Avatarpackage (Ajax.unitypackage)
Step 5: Open the Scene (File -> "Open Scene") inside of the "!Ajax" Folder
Step 6: Upload ! :)
