
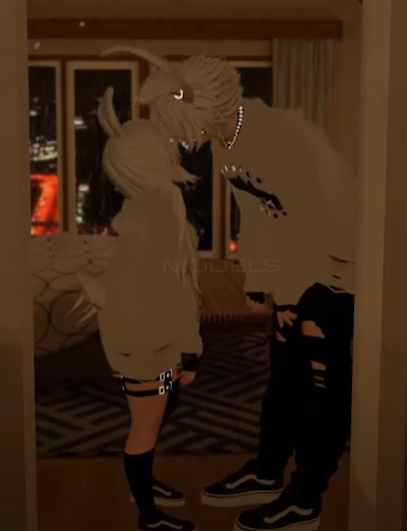
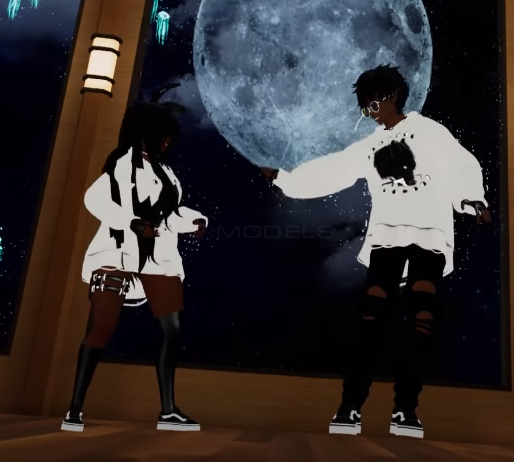

Callie & Ollie
Description
Upload Instructions:
1. Open a new Unity Project
2. Import Dynamic bones, Poiyomi version 6, and Vrchat's avatar SDK 3.0
3. Import Callie/Ollie's Unity package
4. Open up the Models folder and click the deisred scene of the either Callie, Ollie, or both.
This will load up a premade scene with the avatar and an upload picture.
ALTERNATIVELY, if the above step does not work for some reason...
Find the Prefabs folder and drag the prefab into the Hierarchy tab (Avatar should appear in the scene once you do this)
5. The avatar is set up for you automatically. All you need to do is login to the VRChat SDK go to the bulder tab, and click 'Build & Publish for Windows'.
6. Once it completes the first step of the upload, it'll go into play mode and give you an upload menu. Write out whatever name you want for the avatar and MAKE SURE
to click the private checkbox. The scene will come set up with an upload picture. Just go back into the scene and move the camera to your liking.
7. Click upload and your avatar will be uploaded onto your VRChat account!
(If for some reason Unity fails to upload the avatar, just try reuploading it again! It will usually work the second time.)
8. Enjoy your new avatar
https://www.youtube.com/watch?v=C1IK4achreQ

Due to spam in the comments, comments have been disabled.
All comments already added to this material have been hidden.Comments disabled: NomNom
We apologise for any inconvenience.